The needle workflow is a short, repeatable sequence, and reproducibility matters, because an APT campaign needs many specimens.
- Define the site. Mill a wedge around the region of interest with the FIB.
- Lift out. Attach the micromanipulator probe and extract the wedge from the bulk.
- Mount. Place a slice of the wedge onto each coupon post and fix it, weld-free with SemGlu, to avoid ion-beam contamination of the specimen.
- Sharpen. Annular-mill the mounted material to a needle with an apex of a few tens of nanometres, keeping the feature of interest near the apex.
- Final clean-up. A low-energy polish removes ion damage before analysis.
Why micromanipulation precision matters#
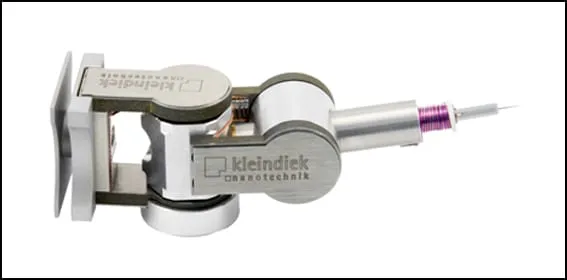
Each coupon post is small and the slices are tiny; placing them squarely and repeatably is what makes a multi-specimen run efficient. Sub-nanometre resolution and a backlash-free drive let the same placement repeat post after post. For soft, volatile or beam-sensitive materials, the workflow also runs under cryo conditions.